General
Why is NZAC leading this project?
The ClimbNZ project is for the benefit of all climbers. ClimbNZ supports the aims of NZAC to:
- encourage mountaineering, rock climbing and allied activities and the enjoyment and conservation of mountain and rock climbing regions; and to bring together those interested in climbing; and
- provide services for climbers, protect the interests and safety of climbers, and promote climbing activities.
Is the information free to use?
Yes, all the information on this site is published under a Creative Commons Attribution-NonCommercial-ShareAlike Licence. You are free to use the content and reuse it with acknowledgement, so long as you do not use it for commercial purposes.
Does NZAC own the information on this site?
Some of the information is republished from NZAC guidebooks. Some comes from other sources, including non-NZAC guidebooks and websites, or is provided by individuals. By posting information on this site you do not give NZAC any rights of ownership. You are responsible for ensuring you have permission to post information on the site. For more, see our Terms of Use.
Adding to and improving ClimbNZ
How are areas and routes organised?
This site is arranged as a hierarchy of Places, from New Zealand to the main islands and on down to peaks, alpine faces, crags, walls, and boulders. For example:
Home / NZ / South Island / Fiordland / Wick Mountains / Mt Moir / North Face.
Routes belong to Places. For example, the North Ridge of Mt Moir has the parent Place Mt Moir (mountain).
Note that a Place can have more sub-Places as well as Routes. For example, Mt Moir is also the parent of the North Face of Mt Moir. The North face has its own routes, such as Vindication.
Can I add or improve the information?
Yes. Most of the content on this site can be edited. Generally, you should only add or edit information about routes that you have climbed or places you have visited.
How do I add or edit a Route?
Check if the route is already listed
Type the route name in the Search box at the top right of the page. Check the spelling. If you’re still not sure, search for the parent (crag, peak, etc.) that the route should belong to.
Go to the "edit" page
To add a route, navigate to the parent (crag, peak, etc.) page and click the Route button.
.To edit a route, navigate to the parent page. Find the route you want and click "edit".
Fill out the information fields

Route fields
More help on filling out the fields:
- Reference: If you are going to add a photo or topo showing your route, put a reference number on the topo and also in the “Reference” field for the route.
- Name: The name of the route. Please be aware of NZAC’s position that we will not publish names that are discriminatory, derogatory or likely to cause harm.
- Type: There are five route types. Choose the one that is best for your route. Grading options change depending on the route type.
- Description: Use this field when you will not be adding pitch-by-pitch details, for example most alpine routes, or to include general information about a multi-pitch route.
- Pitch: Use this field for descriptions of single pitch rock routes and boulder problems. If you will be adding pitch-by-pitch descriptions, fill out the relevant information for the first pitch (Grade, Length, Bolts, Trad, Description). Click the "Add another item" button and do the same for the second pitch, and so on. For more about grades see How are alpine routes graded? and How do rock grades in New Zealand compare to other grading systems? Be as accurate as possible with the pitch length and be exact with the number of bolts (if any). The trad tick box indicates if there is any trad gear. In other words, it includes mixed bolted/trad routes.
- First Ascent: Use this style, with commas between each item and no full stop: Louise Friend, Jeremy Nut, 21 August 2012. Be as accurate as you can with the date. If you have to, put “1800s” or “1960s”.
- Quality: Between none and three stars.
- Route Image: Upload a photo or topo of the route here, if you have one. Images added here will be visible only on the “Route” page. To show the relationship between this route and its neighbours, add an image to the parent (peak, crag, etc) page. You must either own the image or have permission to add it to this site and agree to the Creative Commons licence that governs all the material on this site.
- Grade: You should not need to enter anything, because the grade is automatically calculated from the pitch information. To give your route an overall grade when you haven’t described pitches, go back to the pitch field and enter the grade(s) there.
- Length: You should not need to enter anything, because total route length is automatically calculated by adding all pitch lengths. To give your route an overall length when you haven't described pitches, go back to the pitch field and enter the length there.
- Bolts: This is the total number of bolts on the route, automatically calculated from the pitch fields.
- Attribution: Please credit the original author or source for the information you’re adding or editing. Even if it’s you!
Click the “Save” button at the bottom of the page. You can also use the "Preview" or "View changes" buttons to check.
Can I reorder the list of routes at a Place (crag, peak, etc)?
Yes. Navigate to the Place. For example, to change the order of routes on the South Face of Mt Talbot:
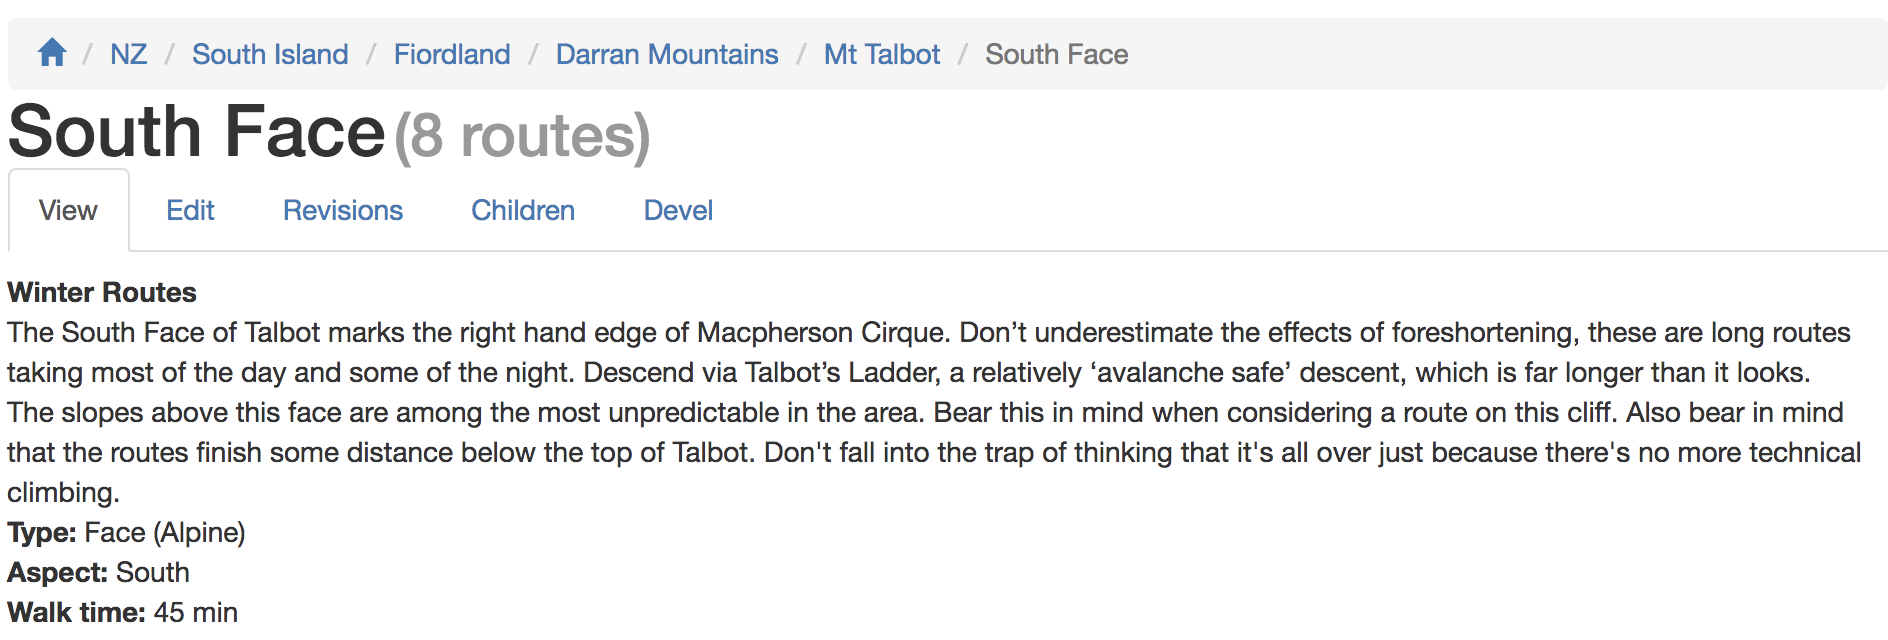
Click the "Children" tab:
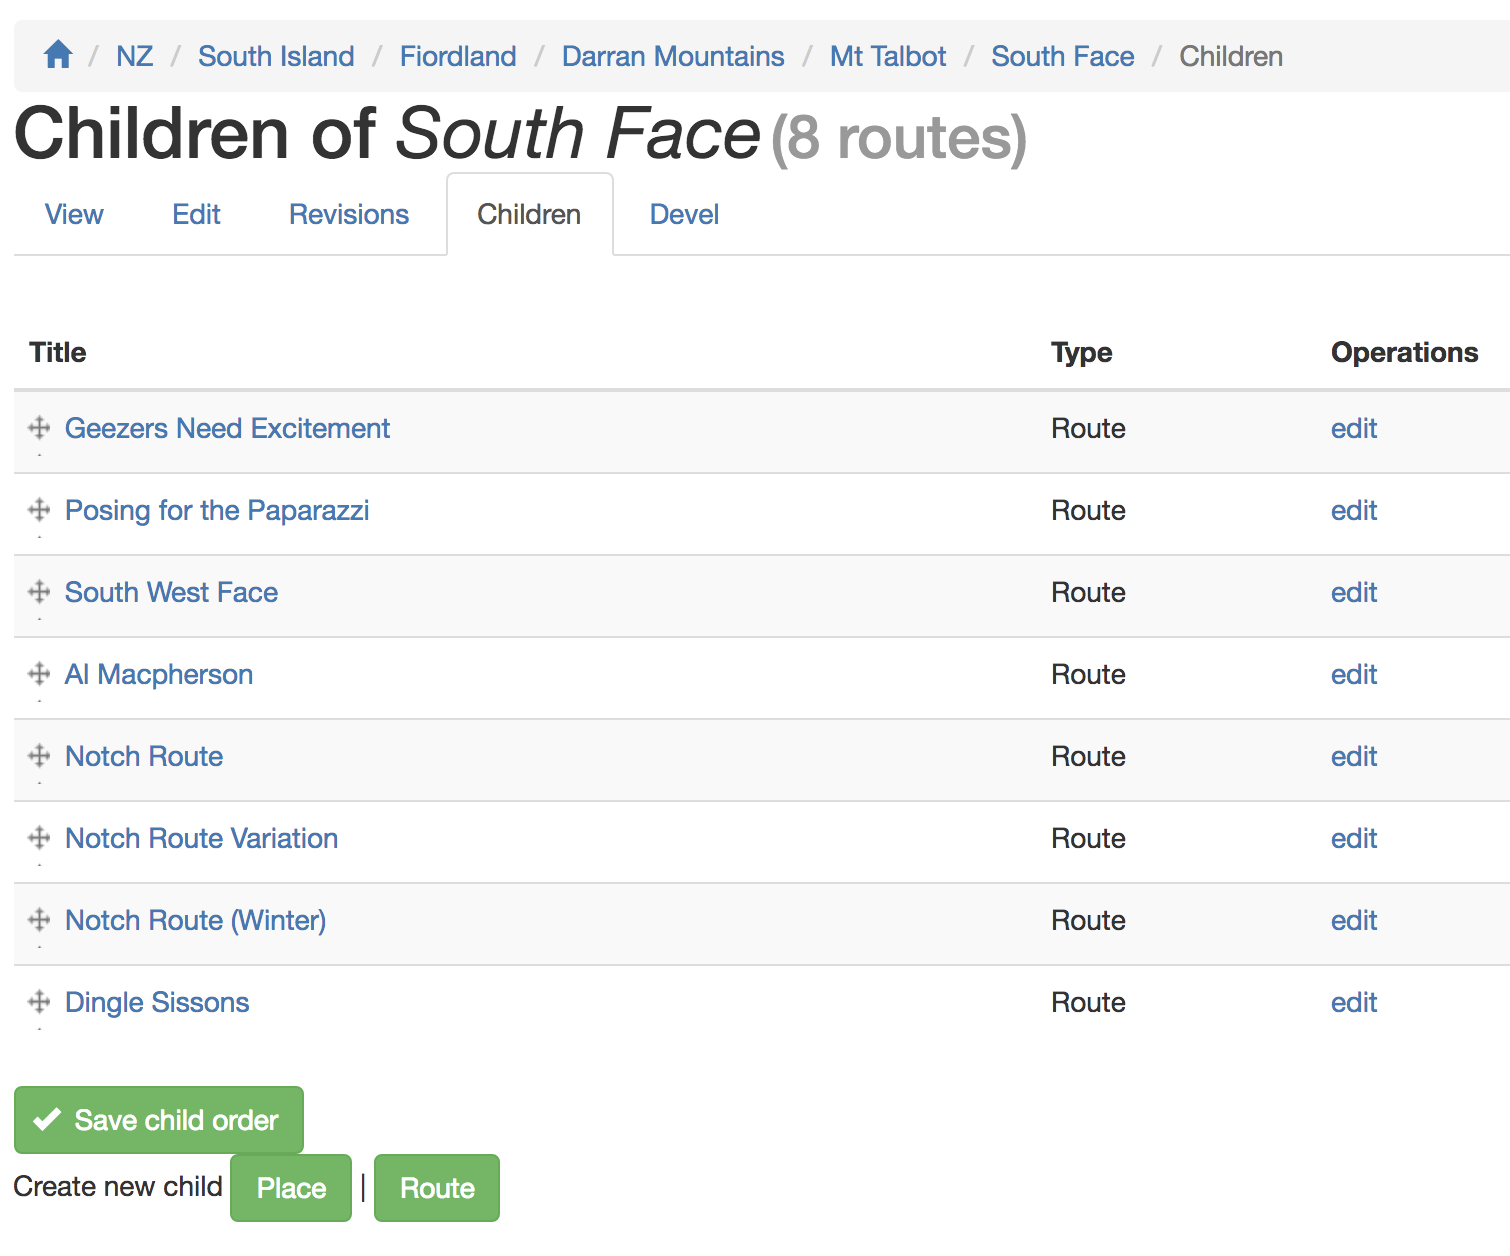
Drag the routes into the correct order, using the cross symbols on the left of the list.
When you are happy with the order, click the "Save child order" button.
Grading
How are rock routes graded?
Rock climbs in New Zealand are graded using the open-ended Ewbank (Australian) system, developed by the Australian John Ewbank in the mid 1960s.
How do rock grades in New Zealand compare to other grading systems?
Some comparison charts are here:
How are alpine routes graded?
Seriousness and Technical grades
Generally, these are the recommended systems to use for grading New Zealand alpine routes. Other grades, for Rock, Mixed, Water Ice, or Aid can be added as required. The older, single variable "Mt Cook" system is still in use in some regions.
Seriousness grade
The Seriousness Grade is the most important grade from an overall mountaineering perspective. It takes into account (in no particular order): the objective hazards throughout the climb; how easy or difficult it is to retreat; the importance of good route finding; the length of the route; and whether or not the easiest descent is on familiar ground.
The start point for a climb is referred to as a 'base', which is considered to be the nearest hut or safe campsite. Climbs starting from remote bases will have a slightly higher Seriousness grade. Whether you walk in or fly in doesn’t affect the grade, but if you walk in, kudos to you.
- I Close to civilization with non-technical access and no significant objective hazards. Simple to reverse. Requires good navigation in poor visibility and familiarity with movement in the mountains.
- II Generally climbed in a half day to a full day close to a base. Likely to need skills relating to crevasse rescue, abseiling, and placing snow/ice/rock anchors. Descent is probably the same route as ascent, i.e. on familiar ground. No unusual objective hazards.
- III Moderate to long routes close to a base, or shorter routes a few hours from a base. Can be reversed but this may involve brief sections with tricky downclimbing or abseiling. Easiest descent could be different from ascent route, but if so is straightforward. There could be short sections exposed to significant objective hazards.
- IV Getting into the big stuff now. Requires sound mountaineering judgement and experience to complete with a good level of safety and to manage objective hazards. Could be long, but if so should be straightforward to reverse. Routes at this grade that are not so long may require multiple abseils to reverse, or may involve a traverse of the peak to get to an easier descent route.
- V Very long routes close to a base, or moderate length routes in a fairly remote area. Likely to be very tricky to reverse. Easiest descent is moderately complicated and is probably different from ascent route. Access, climb, or descent could involve significant objective hazards.
- VI Routes at this grade are generally very long, and are challenging to reverse even for very experienced climbers. Potentially major objective hazards. The best descent route is likely to be complicated, and a night out is likely for most parties.
- VII Very experienced, strong climbers will have a tough climb. Start of route is remote and route is very long. Objective hazards could be severe. Retreating from the route would be difficult and would put you back in a serious spot. Easiest descent is probably very complicated and involves a traverse of the peak.
Technical grade
The Technical Grade takes into account the difficulty of the actual climbing moves. It considers both the crux and how sustained the route is. A ‘+’ symbol is used to indicate a greater level of difficulty. The Technical Grade may be increased slightly if the rock quality is poor.
Most people, even experienced climbers, overestimate the angle of the slope they’re on by 10 to 15 degrees. This means that the angles mentioned below are more serious than they sound.
- 1 Snow up to 25° and/or low angled rock scrambling.
- 2 Sustained snow of 30° to 35° or moderately steep rock scrambling, and/or may have a brief section of 50° snow/ice or exposed rock. Ridge travel may have brief exposed sections.
- 3 Sustained snow of 40° to 45° or sustained steep rock scrambling, and/or may have a short step of ice, or a pitch of 60° snow or grade 10-11 rock. Ridge travel may involve some tricky gendarmes or very exposed sections.
- 4 Sustained snow/ice of 50° to 55° or sustained grade 10-12 rock, and/or may have crux sections of WI3 ice, M3 mixed, or grade 13-14 rock. Ridge travel likely to involve massive exposure or numerous steep gendarmes.
- 5 Sustained 60° to 65° ice/mixed climbing or grade 13-15 rock, and/or may have crux sections of WI4 ice, M4 mixed, or grade 16-17 rock.
- 6 Sustained WI3 to WI3+ ice, M3-4 mixed, or grade 16-18 rock, and/or may have crux sections of WI4+ to WI5 ice, M5 mixed, or grade 19-20 rock.
- 7 Sustained WI4 to WI4+ ice, M5 mixed, or grade 19-20 rock, and/or may have crux sections of WI5+ ice, M6 mixed, or grade 22-23 rock.
- 8 Sustained WI5 to WI5+ ice, M6 mixed, or grade 22-23 rock, and/or may have crux sections of M7 mixed or grade 25-26 rock.
Mixed, Water Ice and Aid grades
Mixed grades (M) are used when dry tooling – climbing rock (and usually also ice) with crampons and ice tools. Water Ice (WI) grades are usually applied to shorter pure ice routes, and may be useful to indicate the technical difficulty of ice on alpine routes. Aid climbing is rare in the New Zealand mountains. ‘Original’ rather than ‘New Wave’ aid ratings are used.
More on grade indications and comparisons is at:
Mt Cook grades
The Mt Cook system was first used by Hugh Logan in his The Mt Cook Guidebook (1982). Grades currently go from 1 to 7 with + and – variations. Factors determining the grade are (in descending order of importance): technical difficulty, objective danger, length, and access.
- 1: Easy scramble. Use of rope generally only for glacier travel.
- 2: Steeper trickier sections may need a rope.
- 3: Longer steeper sections generally. Use of technical equipment necessary. Ice climbs may require two tools.
- 4: Technical climbing. Knowledge of how to place ice and rock gear quickly and efficiently a must. Involves a long day.
- 5: Sustained technical climbing. May have vertical sections on ice.
- 6: Multiple crux sections. Vertical ice may not have adequate protection. Good mental attitude and solid technique necessary. May require a bivvy on route and be a long way from civilization.
- 7: Vertical ice/rock which may not have adequate protection. Rock grades in the high 20s (Ewbank). Climb may be in remote area. May require a bivvy on route.