Skip to main content
Are you looking for rock or alpine climbs?
Choose between Rock or Alpine mode at any time using the button in the main menu.
Main navigation
Search
Rock
Alpine
Log in
Home
Routes
Tools
Add a Place
Add a Route
User Guide
Donate
Join NZAC
Home
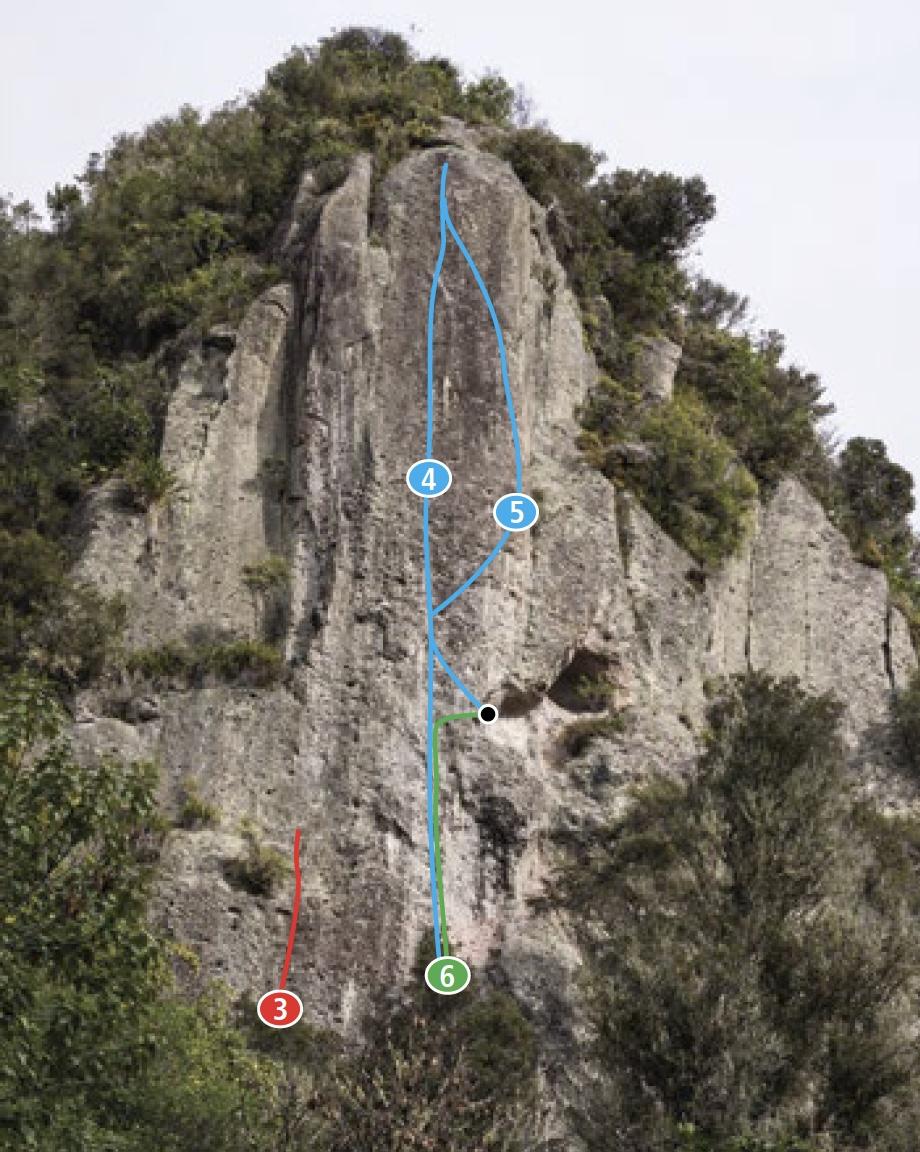
Lobotomy Buttress
Image
Rights credit
Tom Hoyle/NZAC